
Installing InfraMarker Tags
InfraMarker is easy to install and manage. With lightweight and durable RFID tags, a RFID reader and a mobile phone, you have the power to track and locate any asset - either above or below ground.
Placement and writing of the InfraMarker tags
Process for installing, reading and Geo-mapping InfraMarker tags
Tag Install Preparation
Before you start, make sure you have access to the InfraMarker app on your mobile phone. Your employer will be able to give you access. Then, gather the InfraMarker tags needed for the project along with an approved RFID reader/writer.
Tag Placement
Visually confirm the asset point to be marked (a valve, stub, weld point, elbow, intersection, catch basin or other key feature).
For underground assets
Take a photo or video of the asset point while it is exposed in the hole. Please the tag above the point to be marked but below disturbance level. The tag is then covered with sand (recommended) or standard backfill.
Note: Tags in moist soil, clay or near other tags or metal should be placed as close to disturbance level as possible to maximize read performance. Optional Berntsen fiberglass posts are available to provide extra stability to the tag and to provide more precise direction from the tag to the underground asset.
For above ground assets
The technician takes a photo or video of the asset and attaches it to the asset record.
Tag Writing
Position the reader slightly above the tag (or the ground over the tag) and select the ‘write tag’ option on the app to begin the tag writing process.
Then, select the template type (above ground or in-ground) on the app. A series of choices will drop-down.
For example, the in-ground template displays the following fields:
Asset owner (e.g. utility company)
Asset type (e.g. gas, water, steam, fiber, cable, electric)
Asset material (e.g. In: PVC, steel; concrete, conduit)
Asset feature (e.g. weld, elbow, stub, intersection)
Depth from surface to asset (e.g. 4 ft surface to pipe)
Next, select whether the tag represents
an “InfraMarked” asset (located visually and marked with an InfraMarker tag),
an asset marked with an InfraMarker-enabled tag but not visually confirmed (usually with an InfraMarker-enabled above ground marker)
or an asset that is point identified but not marked or visually located.
Review the latitude and longitude coordinates of the tag location as displayed on satellite view of the map.
If the displayed lat-long pin corresponds to the tag location, confirm that the lat-long coordinates should be written to the tag.
If the coordinates are not available or incorrect, move the pin on the displayed map to the correct location and confirm the lat-long coordinates can be written to the tag.
If you know the precise lat-long coordinates based on prior survey, enter those coordinates on the map.
After data entry and GPS recording is complete, the full tag record is displayed you are prompted to ‘write data to tag? (Y/N)’.
Either confirm the data is correct or reenter tag data.
Write the data to the tag. The reader executes a ‘read’ operation and sends a confirmation message display of ‘write successful’ or ‘write unsuccessful.’
After placement and data entry, the field technician takes a short (up to 15 seconds) video of the surrounding terrain to provide a visual reference for the location of the tag and asset (e.g. “tag is in a right of way 60 feet to the eastern boundary of subdivision”; “tag now buried under paved road”). Once completed, the installer can attach the photo of the asset in the hole and a video to the data record.
Data uploading
Once the record is confirmed, all tag information including location video and comments, photo, date/time, user ID, mobile device ID, and tag EPC are stored as a data record and uploaded to the your GIS or the InfraMarker cloud as soon as an Internet connection is established.
Data access
An InfraMarker licensee can view the map of InfraMarker tags through the InfraMarker website or a mobile device. The level of data available for updating, viewing and download depends on the access level.

INSTALLATION PREPARATION
InfraMarker uses a 3-level approach for geo-data management. Data added to the tag stores information related to the asset, including the tag position relative to the asset.
Field data collection verifies the tag’s position relative to other above-ground assets (such as a photo of asset [or the asset revealed by excavation], or videos of the surrounding terrain to assist in relocating the asset) and can include comments related to the installation or reading of that tag.
Equipment and preparation needed to install, locate, and map InfraMarker®
InfraMarker uses a 3-level approach for geo-data management. Data added to the tag stores information related to the asset, including the tag position relative to the asset.
Field data collection verifies the tag’s position relative to other above-ground assets (such as a photo of asset [or the asset revealed by excavation], or videos of the surrounding terrain to assist in relocating the asset) and can include comments related to the installation or reading of that tag.
Data added by the administrator is appended to the record and may include customer specific information, historical records or other documents related to that asset.
INFRAMARKER TAGS
InfraMarker tags are standard Class 1, Gen 2 RFID tags that have been tested and approved by InfraMarker for use in infrastructure management applications. The InfraMarker tags are provided to the customer with a standard data schema that works with InfraMarker software.
The standard data schema is set up as follows:
Asset Owner
Asset Type
Asset Function
Asset Material
Asset Feature
Latitude
Longitude
Tag Install Date/Time stamp
Depth from Surface to Asset
Offset Direction & Distance
TWO TYPES OF INFRAMARKER TAGS ARE AVAILABLE
InfraMarker-enabled underground markers that include an RFID tag, magnet, and steel backing. These tags are the IM483B, IM362B, IM221B , and IMDEEP 1.
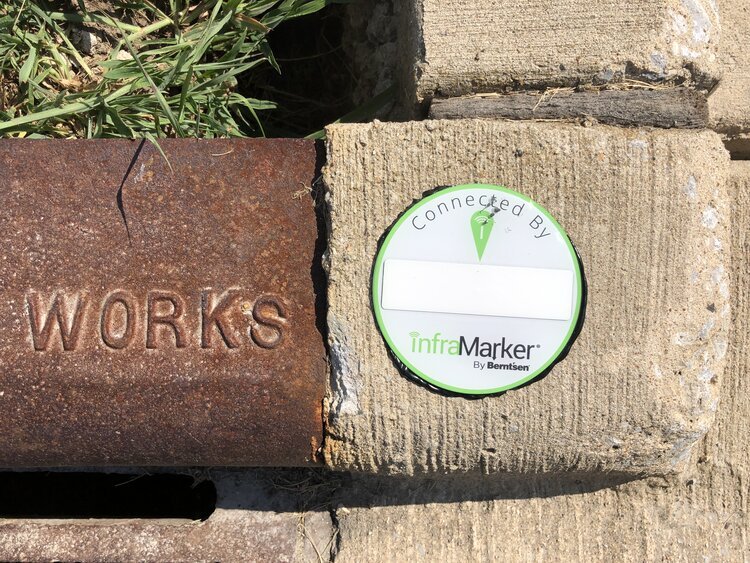
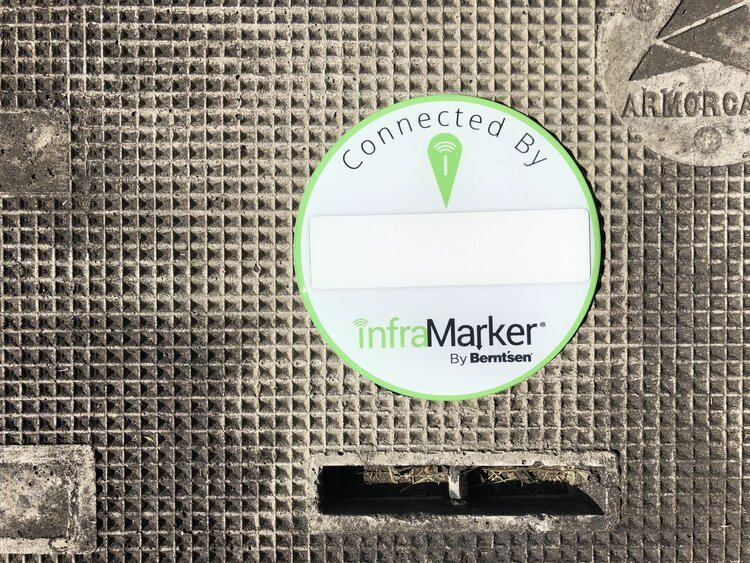
InfraMarker-enabled above ground marking products including customizeable label for catch basin, curb marking or other applications where a label is required. In addition, the fire hydrant marker is available and can be used on metal hydrants or utility poles.
APP DATA RECORD
The InfraMarker record is contained in the app and uploaded to your GIS or the InfraMarker Cloud in the following format:
Tag information
Handheld data information
Mobile Device ID
User ID from Mobile Device
Date/Time Stamp of read
Comments [recommended to communicate information about the tag position relative to other landmarks or important information related to above ground location].
CLOUD RECORD
Every app record from every InfraMarker tag is uploaded to your GIS system or the InfraMarker cloud. This record can be appended by the customer with information specific their asset management needs.
INFRAMARKER WEBSITE
The InfraMarker website collects registration information, controls user access for download and display, links to InfraMarker training and support material, and offers the customer the ability to purchase InfraMarker related marking products and support.
RFID SCANNER
InfraMarker’s lightweight Bluetooth® UHF RFID readers are capable of reading and writing to tags directly from a Bluetooth-enabled mobile device. Equipped with a powerful Impinj R2000 core and range of interchangeable high-performance antennas, it delivers reliable reads even in difficult or deep placements.